Constructing a roof is a task that requires meticulous attention to detail. Whether you’re an experienced builder or a homeowner embarking on a DIY project, understanding the steps involved in roofing a house is crucial. This guide will provide you with valuable insights into how to build a roof, covering everything from gathering roofing materials to the final installation of asphalt shingles.
Steps to build a strong and weatherproof roof (The TL;DR)
Before you start your roofing project, here are the main points:
- Every roof has several layers. These include decking, drip edge, ice and water shield, felt, flashing, and shingles. Each layer is important for complete protection.
- Collect all the necessary materials and tools first. This includes underlayment, nails, flashing, and asphalt shingles. Then, you can start the construction.
- Prepare your home by moving vehicles, covering outdoor furniture, and securing valuables inside to avoid damage during installation.
- Begin the project by taking off the old roof. Next, check the decking for damage. Fix any mold or rot before adding new layers.
- Install each layer in order, beginning with gutter apron and drip edge, then add water shields, felt, shingles, and flashing for weatherproofing.
- Add exhaust vents at the top for air flow. Also, place hip and ridge shingles where roof planes meet for added coverage.
- Finish by cleaning up debris and walking through the project with your installer to check for any issues.
This guide takes you through roof building. It covers planning, setup, and cleanup. You’ll learn how to create a safe and durable roof.

Understanding the Basics of Building a Roof
Before you start climbing ladders and hammering nails, your first course of action should be to grasp the fundamentals of how to install a roof. Let’s dissect the anatomy of a typical roofing system.
The Layers of a Roof
A roof, much like an onion, has multiple layers. Each of these layers has a specific role to play in shielding your home from the elements.
Decking
The base layer of your roof is the decking, usually made of plywood. This is the layer upon which all other components will be installed. If you notice sagging or mold in your roof, the decking may be the source of the problem.
Gutter Apron
The gutter apron is a thin piece of metal flashing that directs water from the roof into the gutters, preventing it from running down the exterior walls. This is essential to avoid problems like mold and mildew.
Drip Edge
The drip edge is another piece of flashing installed at the same time as the gutter aprons. It is placed on the parts of the roof that angle upwards to prevent wind-driven rain from entering the house.
Ice and Water Shield
For those living in colder climates, an Ice and Water Shield is vital. The ice barrier is placed near the corners of the roof and serves to prevent water from entering your home when ice builds up on the roof.
Synthetic Felt
Synthetic felt is a temporary protective layer used in case it begins to rain while the contractors are installing your roof. It can be left in place for up to 60 days on its own, serving to protect your home from water damage and leaks.
Roof Flashing
Made from metal, roof flashing is a method of waterproofing. It is used in areas where water is more likely to infiltrate your home, such as gutters or chimneys.
Shingles
Shingles are the outermost layer of the roof. They are available in various styles and colors, and they are the most customizable part of your roof.

Required Tools and Materials for Building a Roof
Before you begin your roofing project, make sure you have the necessary tools and materials. Here’s what you’ll need:
- #15 or #30 Felt underlayment
- Asphalt shingles
- Drip edge
- Hook blades
- Roofing nails
- Sealant
- Self-adhesive waterproof underlayment (“ice and water shield”)
- Staples
- Step and dormer flashing
- Valley flashing
- Vent flashing
Remember to plan for the delivery of these materials. If you have a larger roof, you might want to have your roofing supplier hoist the shingles onto the roof. However, be mindful of the weight of your trusses, especially if you still have old roofing material to remove.
Preparing for a Roof Replacement
Before the crew arrives for a roof replacement, there are a few things you’ll need to do.
- Cut Your Grass: Keeping your yard well-maintained will help your crew during cleanup. Cutting the grass ensures that all dropped nails are easily picked up.
- Make Arrangements for Pets: Roof replacements can be noisy. If your pets are sensitive to loud noise, it might be best to find a safe place for them during the installation process.
- Move Vehicles Out of the Driveway: The installation team will need space to dispose of old roofing materials and park their vehicles or dumpsters.
- Remove Valuables from Interior Walls: The vibrations from the roofing process could potentially knock items off your walls. To avoid damage, remove any valuable items before the crew arrives.
- Secure Lawn Ornaments and Garden Lights: The team will likely use ladders to access your roof. To prevent damage, move any ornaments or lights out of the way.
- Cover and Move Patio Furniture: Protect your outdoor furniture from potential harm by covering it and moving it out of the way.

The Roof Installation Process
Now that you’re prepared, it’s time to start the actual process of building a roof. Here are the steps you’ll follow:
Roofing Material Delivery
All the materials you’ll need, including plywood, underlayment, flashing, and shingles, will be delivered to your home. These will typically arrive on pallets and may be placed directly on your roof or in your driveway.
Home Protection During the Project
Your home needs to be protected during the roofing project. Plastic tarps are usually used to cover the exterior of the home, and plywood may be used to cover some windows. This usually only takes about half an hour of the total project time.
Demolition and Inspection
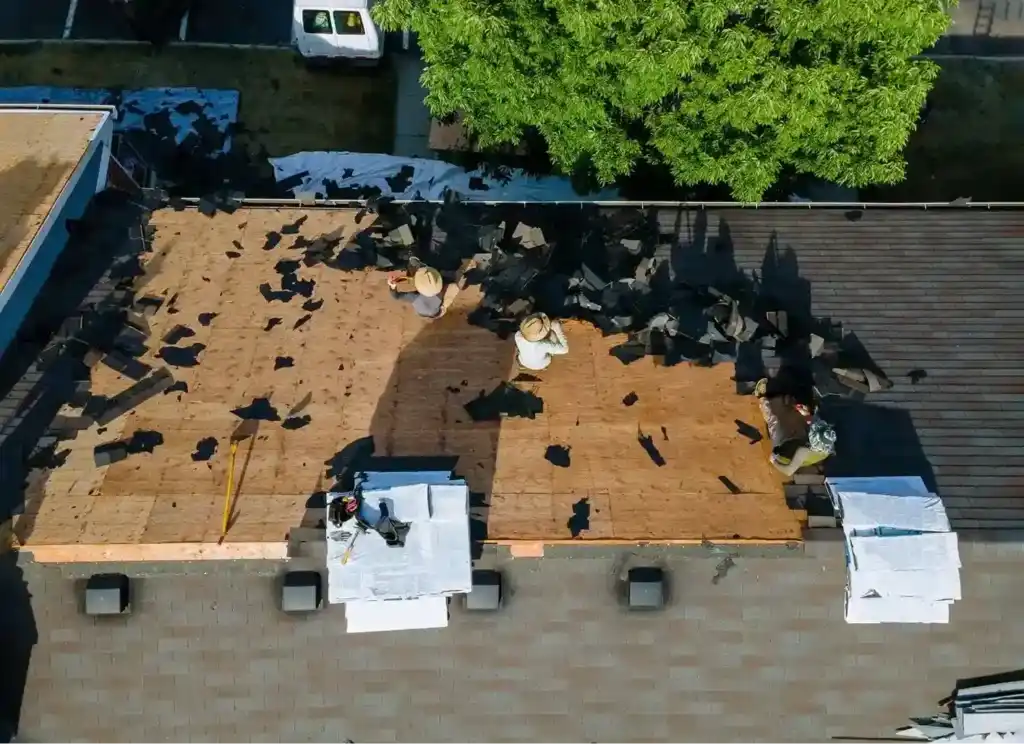
The old roofing materials need to be removed before the new ones can be installed. This step is usually quick, taking only a couple of hours. After the old materials have been removed, the roof decking will be inspected. If any issues are found, such as mold or rot, these will need to be addressed before proceeding.
Installation of Gutter Apron, Drip Edge, Ice and Water Shield, and Synthetic Felt
The next steps involve installing the various layers of your roof. The gutter apron and drip edge are installed first, followed by the ice and water shield and synthetic felt. These layers are all designed to keep water out of your home.
Shingle and Flashing Installation
With the protective layers in place, it’s time to install the shingles and new flashing. This is the most time-consuming part of the process, but it’s also where you’ll start to see your new roof take shape.
Exhaust Vent Installation
Proper roof ventilation is crucial to prevent mold and mildew issues. Exhaust vents are installed at the top of the roof, providing an exit for heat, hot air, and moisture in your attic.
Installation of Hip and Ridge
The points where the planes of your roof meet, known as the hip and ridge, need additional protection. Coverings made of shingles are placed over these points for added security.
Cleanup and Final Walkthrough
After the roof installation is completed, the cleanup process begins. The crew will remove all tarps and plywood, clear any debris, and use a magnet to ensure no nails have been left behind. Once cleanup is completed, a final walkthrough with the project manager should be conducted to ensure there are no issues.

Maintaining Your New Roof
Once your roof has been installed, regular maintenance is key to ensuring its longevity. This includes regular inspections, especially after severe weather, to check for any damage. All areas sealed during installation, such as exposed nails and flashing, should be inspected every few years.
Building a roof can seem like a daunting task, but with the right information and preparation, it’s a project that can be tackled with confidence. Whether you choose to hire a professional or do it yourself, understanding the steps involved in building a roof is invaluable.
If you have any questions about how to build a roof or need professional assistance, don’t hesitate to contact Cox Brothers Roofing. Our team of experts is always ready to help with all your roofing needs.

